

I. Core Principle: Whoever locks, whoever unlocks
Before proceeding to the specific steps, the first fundamental rule of the LOTO removal procedure must be established first:
Each lock or label can only be removed by the authorized personnel who applied it.
This is a clear stipulation from OSHA 29 CFR 1910.147, and it is also the core requirement of the seventh step “Release and Restoration” in China’s GB/T 33579-2017 “Mechanical Safety – Methods for Hazard Energy Control – Lockout/Tagout”. The logic of this principle is very simple: The person who applies the lock is the one who is most familiar with whether the job has been truly completed and whether they have safely evacuated the dangerous area. If others are allowed to remove the lock, it may result in restoring the energy supply while a worker is still in the dangerous area.
No one is allowed to remove another person’s locks or tags. The only exception is when the authorized person who applied the lock is not present at the scene. In such cases, the supervisor can remove it according to the specific emergency procedures (please refer to Section 6 below).
II. Comprehensive inspection before dismantling: Essential safety confirmation
Before starting to dismantle any locking device, authorized personnel must complete a series of checks to ensure that the equipment and working environment are in a state where the energy can be safely restored.
III. Standard Demolition Steps: Six-Step Method
After completing the comprehensive inspection, the formal demolition and restoration procedures will be initiated. The following is a standardized six-step operation process that complies with OSHA 1910.147 and GB/T 33579-2017 requirements:
Step 1: Confirm completion of work
The authorized personnel shall verify that all maintenance, repair or cleaning tasks have been fully completed, with no missing procedures or unfinished work orders. In the case of group lockout, it is necessary to ensure that all participants have completed their respective tasks.
Key action: Review the work list item by item and confirm that each task has been signed off and closed.
Step 2: Clean up the work area
Carry out all the items in the “Work Area Inspection” mentioned above – clean the tools, remove the waste, remove the personnel, confirm that the equipment components are intact, reset the safety protection devices, and return the controller to its original position.
Key action: Use the checklist to confirm each item one by one. Conduct a physical inspection around the equipment and visually confirm that no items are missed.
Step 3: Notify relevant personnel
Before removing any locks, all personnel who may be affected by the reactivation of the equipment must be informed, including:
Equipment operator
Other workers in the same area
Production supervisor and team leader
External contractors (if applicable)
OSHA requires at least two notifications:
Notification before removing locks: “The lockout device is about to be removed”
Notification before restarting: “The equipment is about to resume operation”
These two notifications can be given simultaneously in some cases, but if there are other concurrent operations, they must be given separately.
Key action: Notify in person or through a confirmed communication channel to ensure that the recipient receives and understands.
Step 4: Remove locks and labels one by one
According to the principle of “who locked, who unlocks”, each authorized person removes the personal locks and labels they have applied.
The operation sequence for the group lock scenario:
After each worker confirms that they have safely evacuated the equipment area, they remove their personal lock.
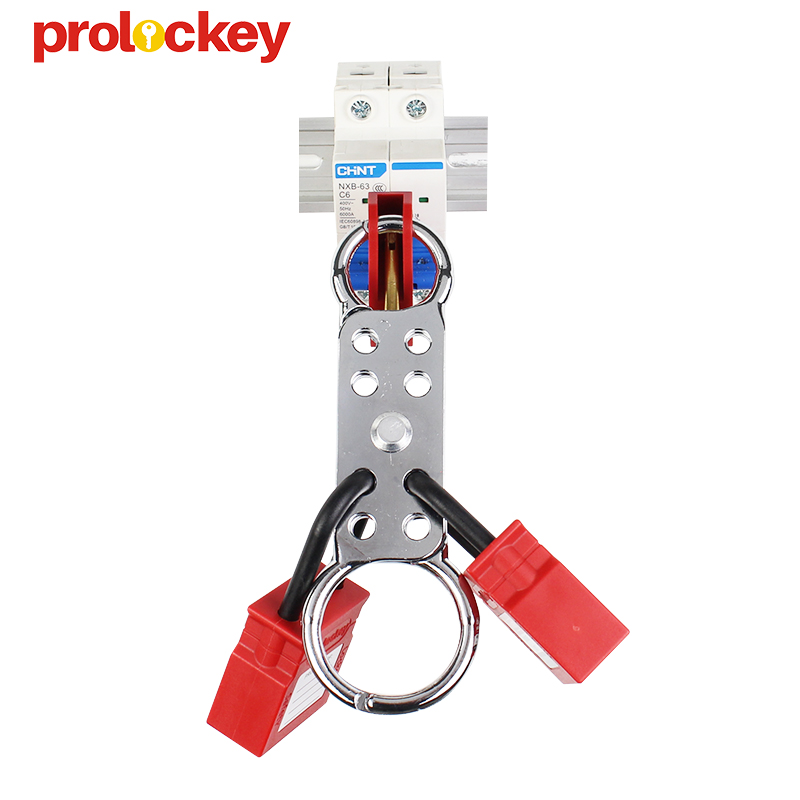
Remove each lock one by one from the Hasp or Lockbox.
Only when the last lock is removed can the isolation device be operated.
Post time: Jul-21-2026


